
Guide to Running a DIY Zig Zag Cleaner Building Workshop by Leeds Seed Savers
As part of our small equipment microfund, generously supported by the Kreitman Foundation, members of our Southern and Northern England and Scottish seed networks – Kirkstall Valley Farm (Leeds), Leeds Seed Savers, Hilltown Organics (Devon), The SouthWest Seed Hub, Perthshire Seed Library and Lancaster Seed Library – received a joint grant to help strengthen seed production in their respective networks.
The money went towards developing low-cost cleaning and drying equipment and hosting community build workshops, both of which have enabled local groups to improve the quality of seed they are producing.
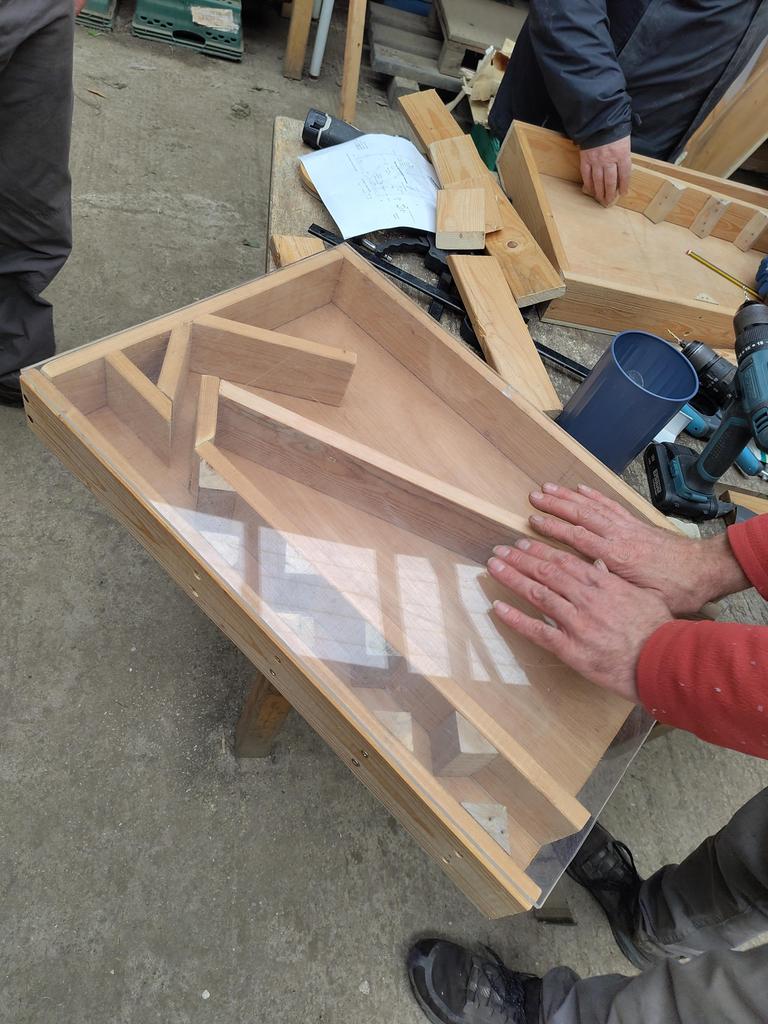
As part of this work, Leeds Seed Savers ran a workshop for the northern England seed network at Kirkstall Valley Farm in Leeds. The aim was to share the process of building open-source DIY zig zag seed cleaners using the designs devised by Real Seeds (available here). Leeds Seed Savers made zig zags for several community seed projects in the region and have written this guide to share their workshop plan to make it easier for other regions and projects to do the same.
The DIY zig zag seed cleaner is widely recognised as an important device in seed processing beyond the small scale. It speeds up seed cleaning and has the precision to improve the quality of seed batches by separating out lighter seed that will normally exhibit lower germination. It uses the air current generated by a vacuum cleaner. Simpler traditional methods such as sieves and winnowing will always have their place, but often such clean results can’t be replicated in such a short time frame.
Included below are some top tips that Leeds Seed Savers learnt from their build, hopefully making it easier for others to make a DIY seed cleaner in the future. The cleaner is demonstrated here. It may be helpful to look at the plans, and watch the video of it in use, before starting.
Workshop Preparation
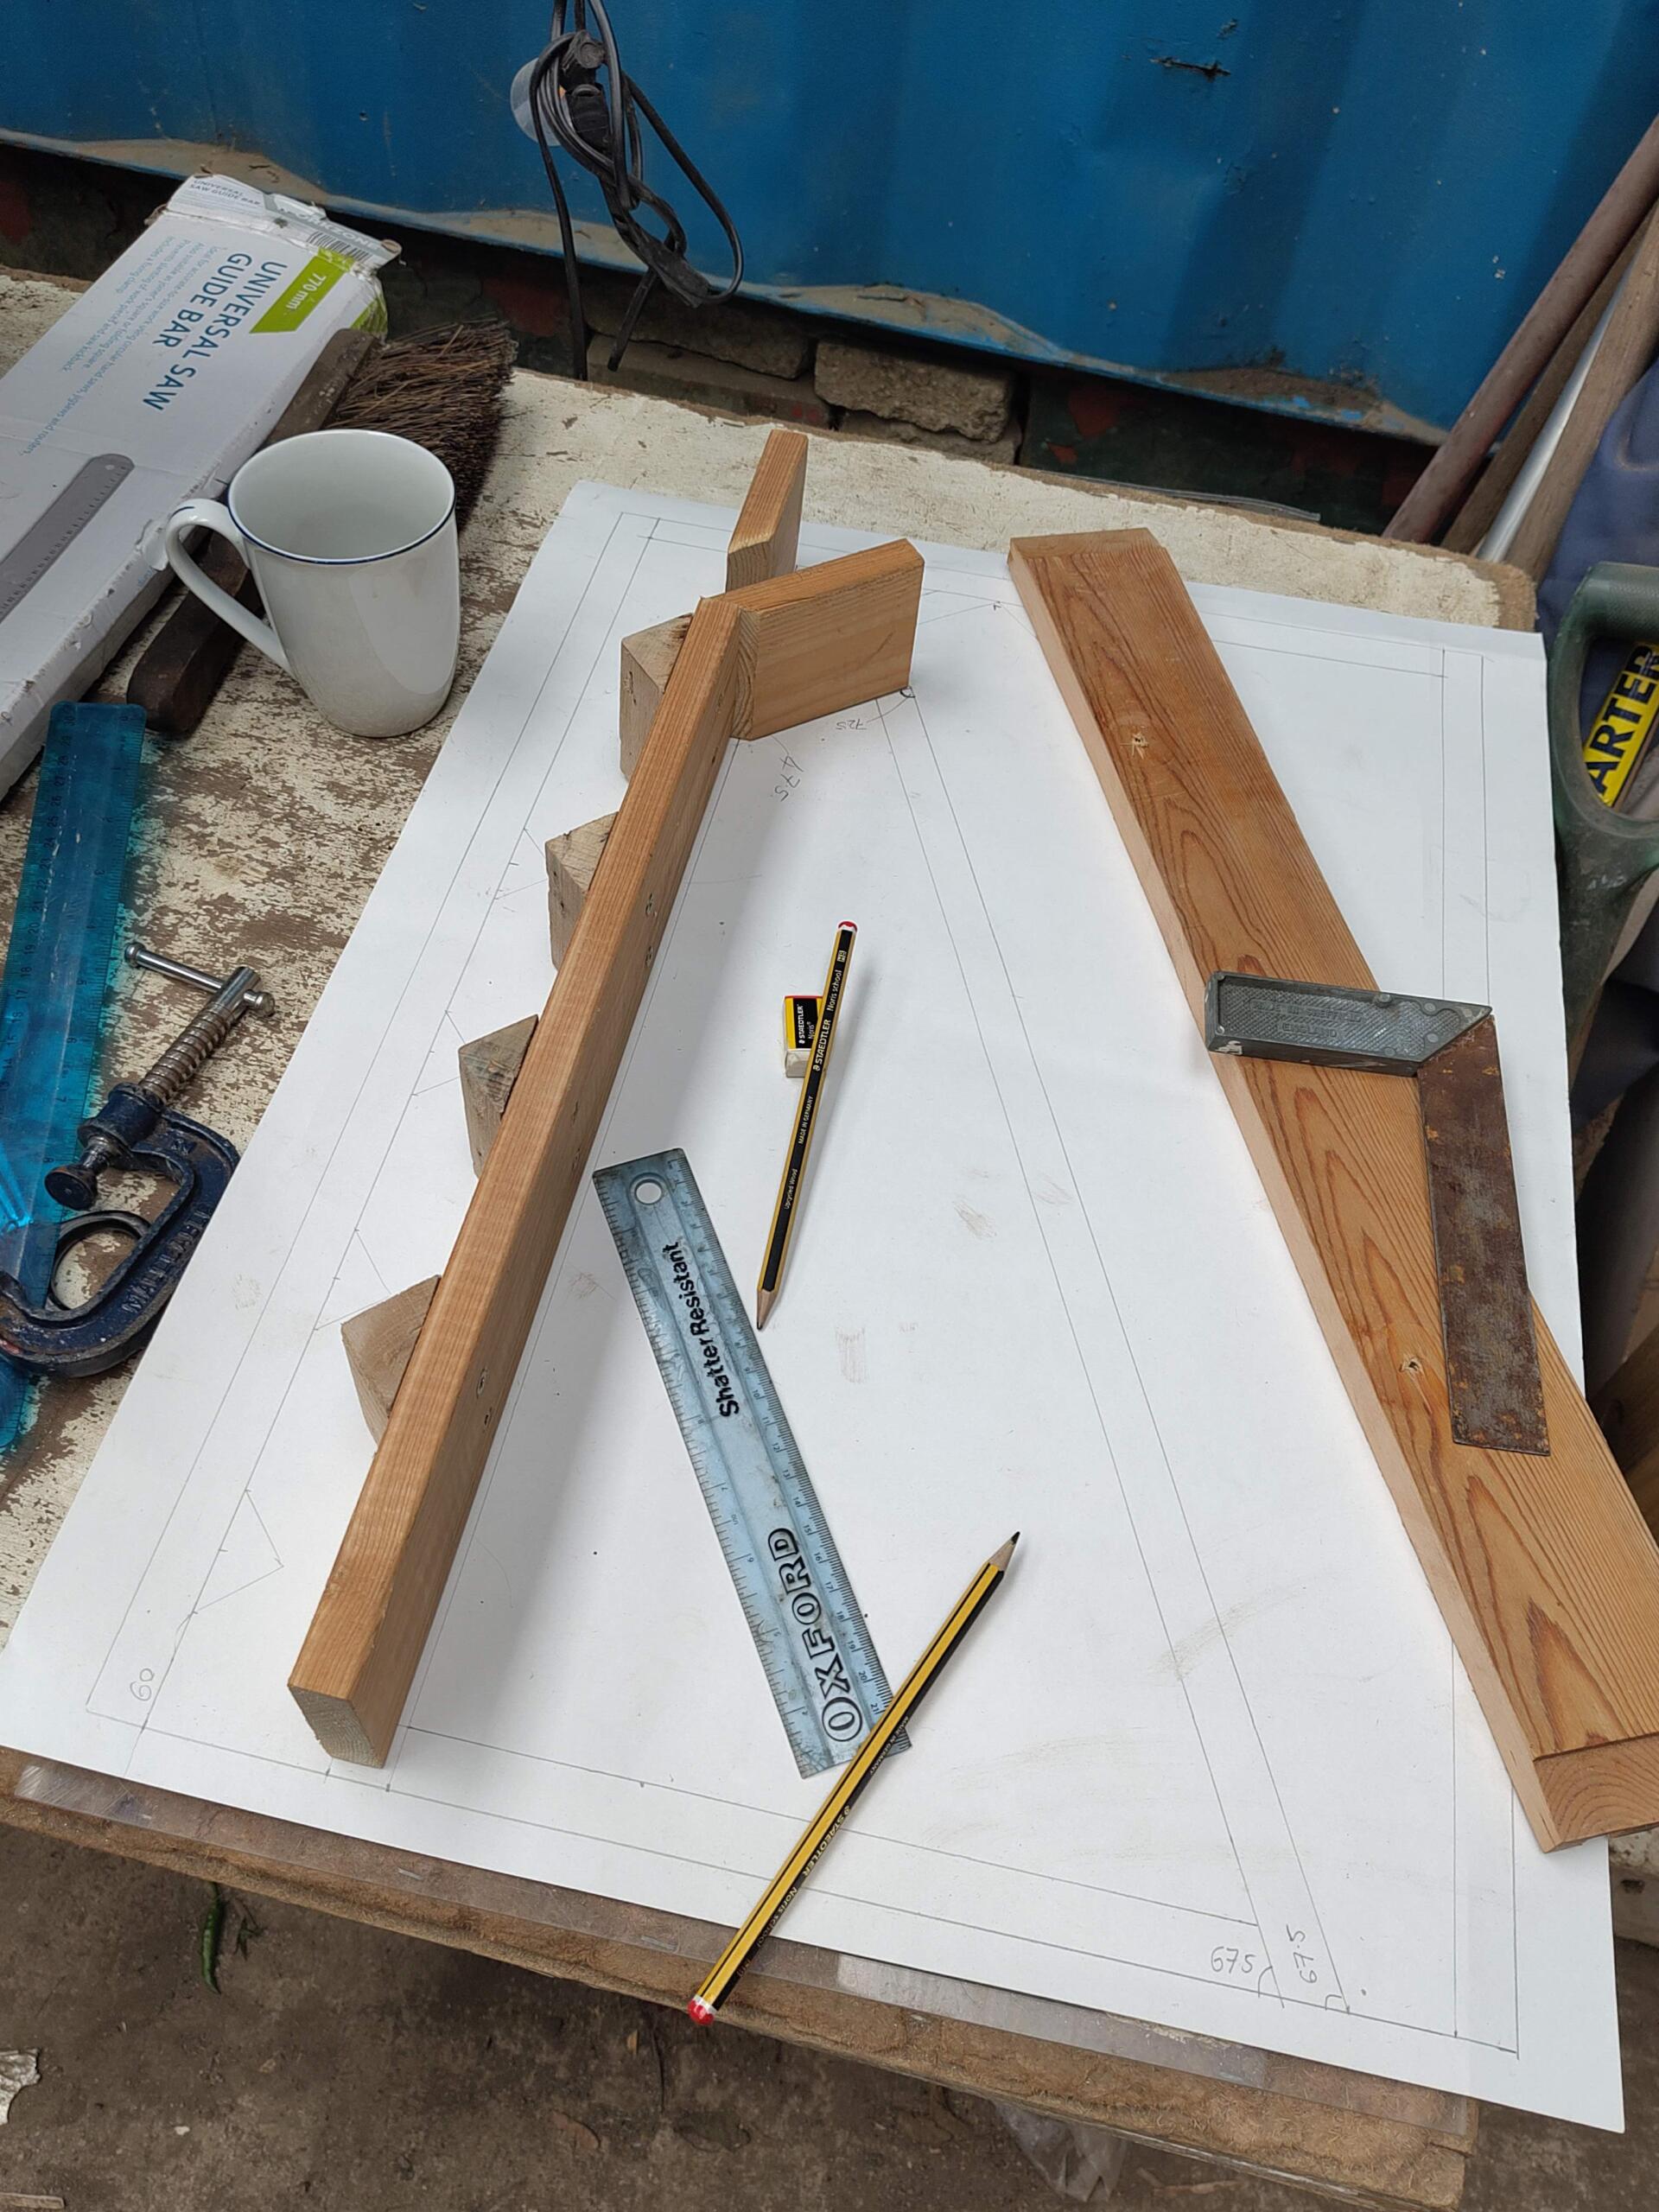
As a first step towards building a seed cleaner, it’s helpful to draw out a life-size template of the machine from the plans. This makes it easier to explain the machine to workshop participants and with laying out and joining pieces after cutting them out. A big sheet of thick A2 paper is best, and use a pencil, a long ruler and a large metal set square. Cutting out the size of a big cardboard box probably would also work: the footprint of the machine is approximately 42cm x 60cm.
A printed copy of the Real Seed‘s diagram, with all measurements for workshop participants to refer to, is also helpful. That can be found here.
Health and safety
A quick summary of some workshop health and safety, and people care points to make sure everyone attending a workshop is well looked after (this is not an exhaustive list):
- It’s good practice to make a risk assessment for the workshop. You can find a template and examples here.
- Public and employers’ liability insurance may be a requirement. An organisation should have cover for workshops such as this.
- Collect information about relevant learning, access and medical needs (including allergies) from participants in advance, and make necessary adjustments. (Remember that this information is given and should be kept in confidence).
- Make sure that people arrive knowing and wearing appropriate clothing (taking into account the weather conditions), that they have taken additional protective measures (bringing gloves, suncream, a hat, etc.), and that they have all they need for the day (medication, for example).
- If you are not providing food, packed lunches will be required.
- Some people benefit from having clear notice of what to expect. For example, knowing that there might be dogs or children on site, there may be loud and unexpected noises or flashing lights. Some prefer to see a photograph of the entrance or a route map for access.
- Identify a first aider and be clear about the location of a first aid kit, checking its contents and expiry dates in advance.
Here are some additional thinking points before getting started:
- Workshop participants should agree to take responsibility for themselves and those around them during any practical task.
- Be sure there is adequate space to work and take turns so everyone who wants to can have a go at different stages of the cleaner build process.
- Invite concerns or challenges at any point and implement a culture of vocalising discomfort.
- Take regular breaks with water, tea, coffee, and snacks available and be clear about the time and process for taking breaks. Make sure there is a toilet available with handwashing facilities and be clear that this can be used at any point.
- Provide PPE (Personal Protective Equipment) such as gloves, face masks and goggles.
Workshop health and safety guidelines for participants:
- Gloves are recommended when working with hand tools.
- Other than a cordless drill, hand tools are used throughout the workshop.
- Clamps or a Workmate should be used to hold the workpiece whenever possible.
- Avoid sawing, drilling and screws poking out when your hand is behind the workpiece.
- Make sure space and warning is given to others before cutting, drilling or screwing.
- Be aware of slips when cutting or drilling. Small drill bits less than 4mm snap quite easily if lots of pressure is applied.
- Tuck in loose clothes and tie back long hair.
Tools list
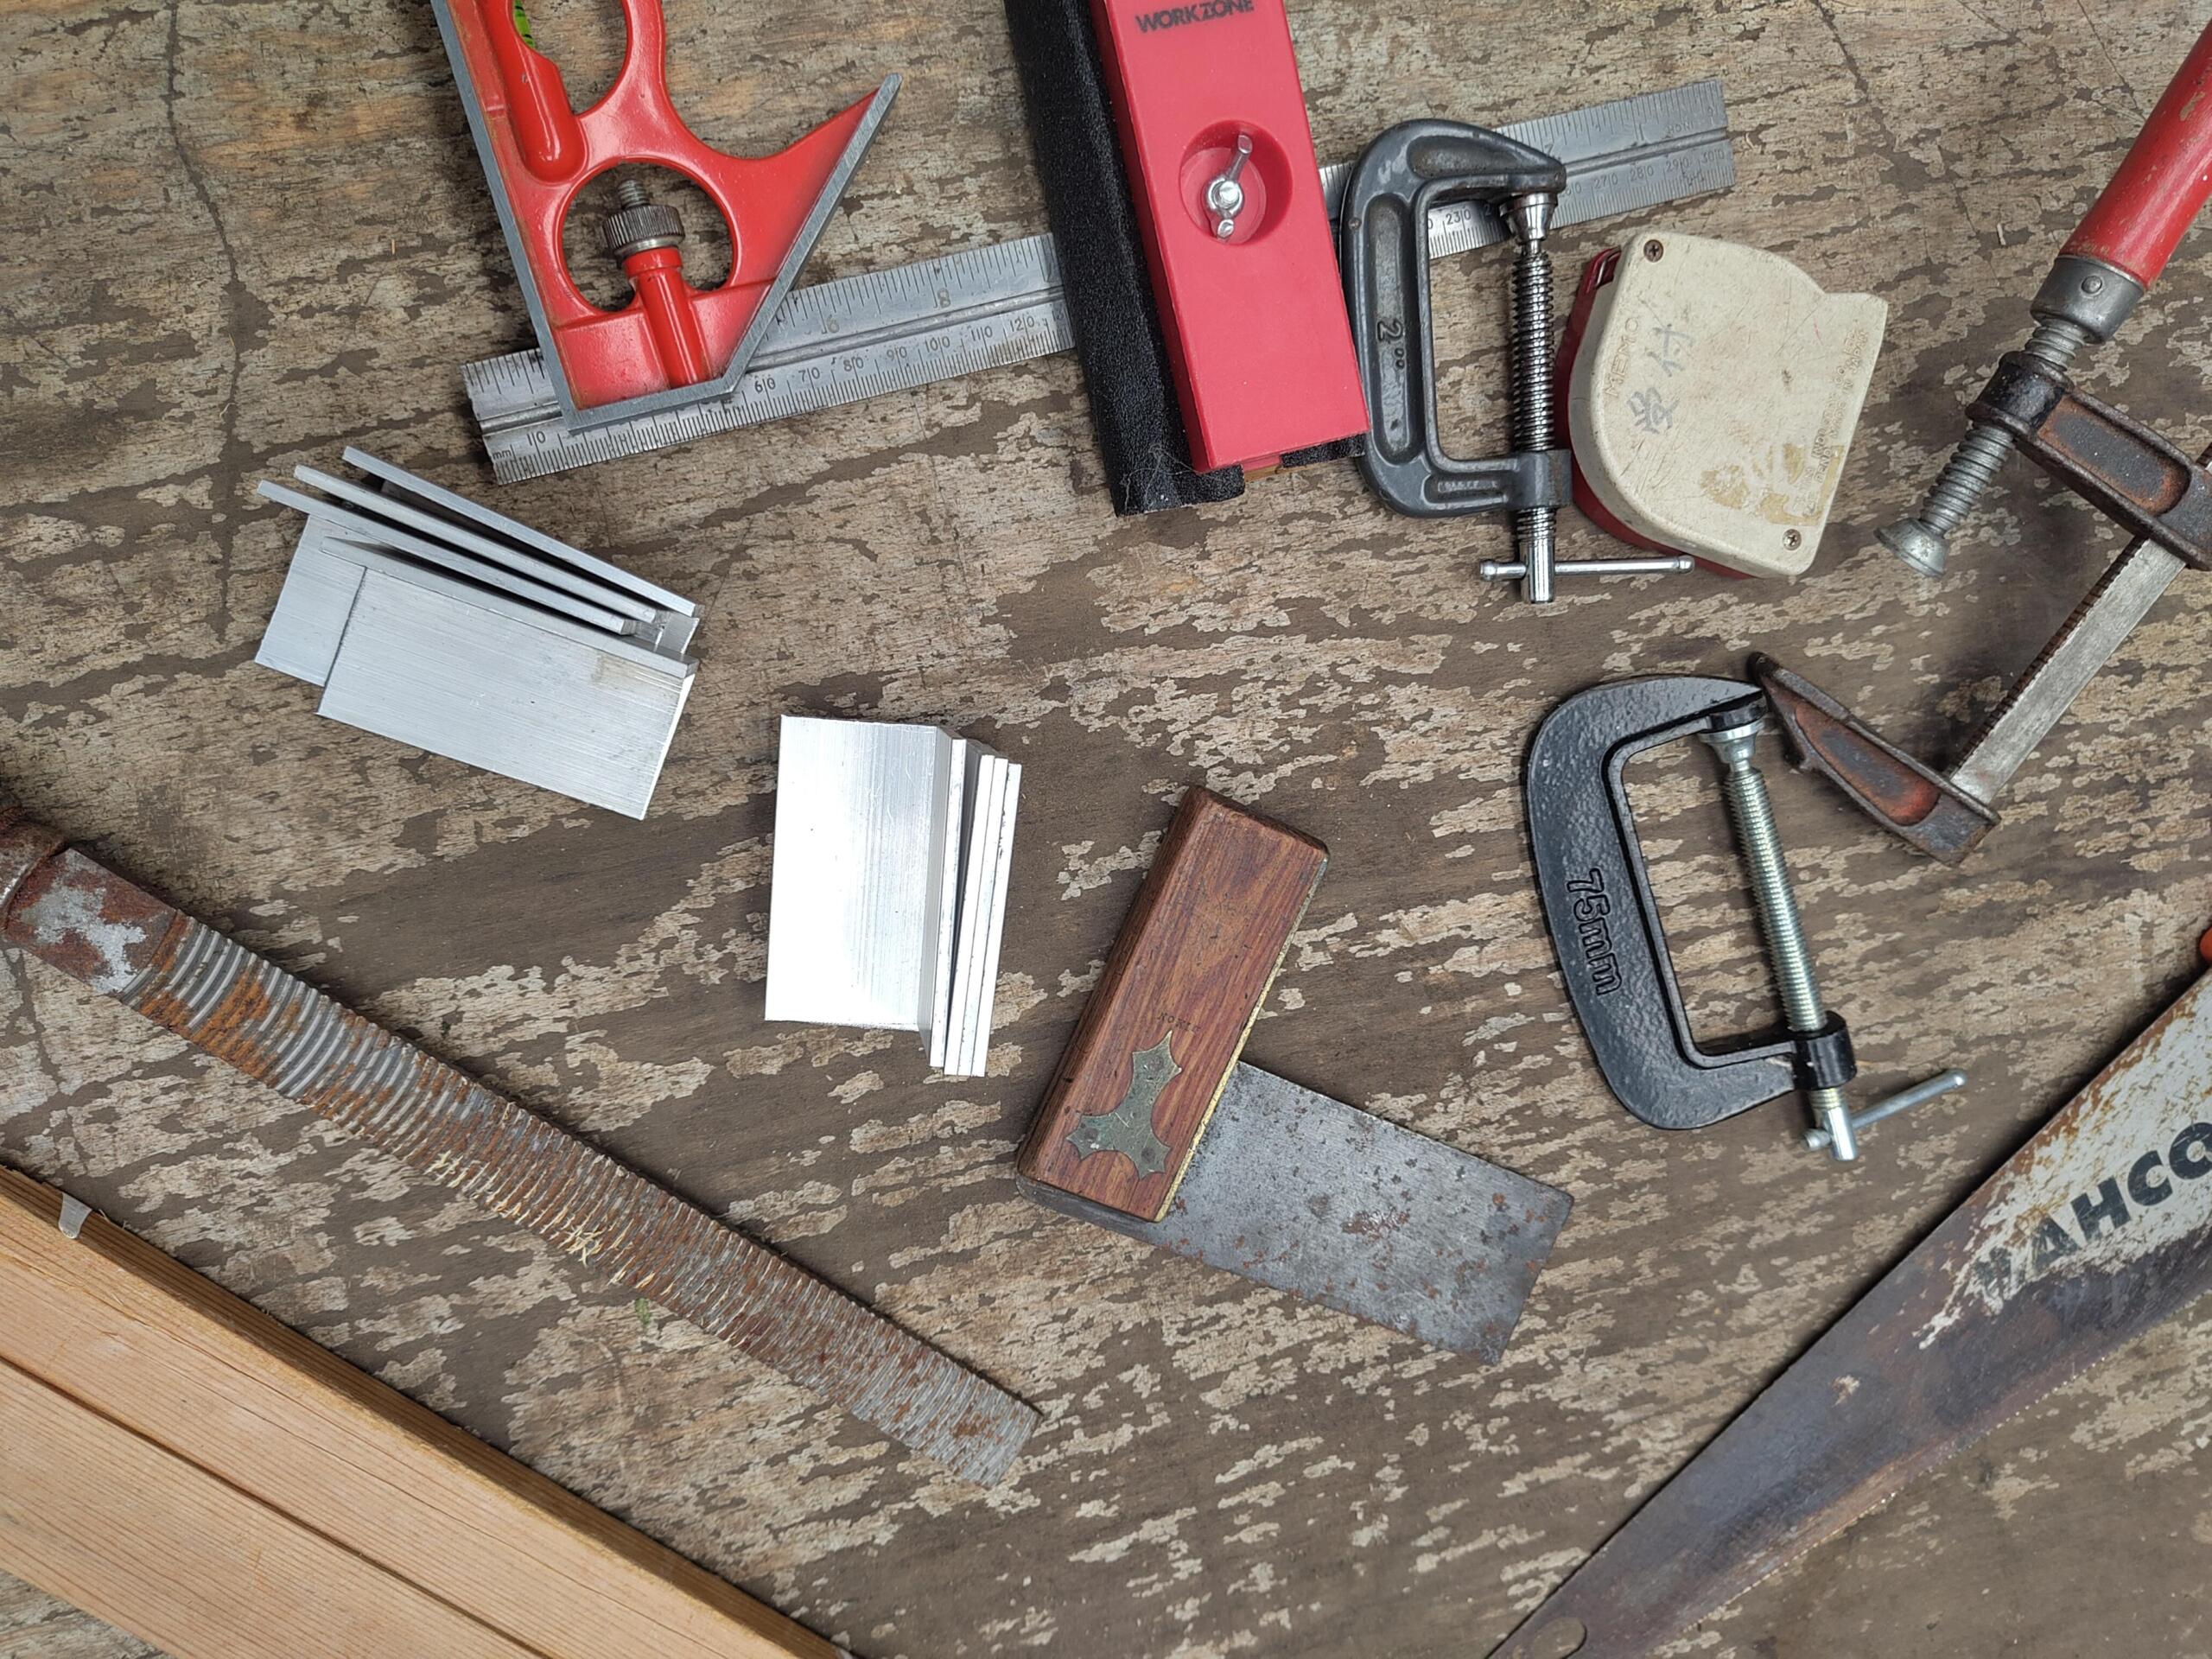
Having multiples of tools allows people to work at their own pace without waiting and is recommended where possible.
3 x saws – Tenon and fine-tooth panel saws work (referred to as ’11tpi’ or ‘second fix saws’)
3 x cordless drills
Screwdriver bits – pz2 & ph2 main types needed
Drill bits – 2.5mm and 4mm are the main sizes needed. Sharp, decent-quality bits make it easier to get a good result, especially when drilling the Perspex front of the cleaner. Erbauer (or similar) HSS bits from high street DIY shops work with wood, metal and plastic
Countersink bit – useful for getting screws to sit flush in wood
Hole saws and hole saw Arbor – 20mm, 25mm and 32mm diameter (measure the external diameter of the chosen vacuum cleaner nozzle and choose a hole saw that is either the same size or no more than 1mm wider)
Clamps – F clamps, G clamps and quick clamps all work. Big plastic spring clamps (sometimes called glueing clamps) can be useful for assembly. Metal market stall clips would work for this too
Black and Decker (or similar) Workmate folding bench – useful for clamping to screw the top and sides together
Set squares – combination squares and roofers’ squares are the most accurate and useful for making angled marks
Protractor
Sharp pencil
Craft knife
Fine Sharpie (or other permanent marker pen)
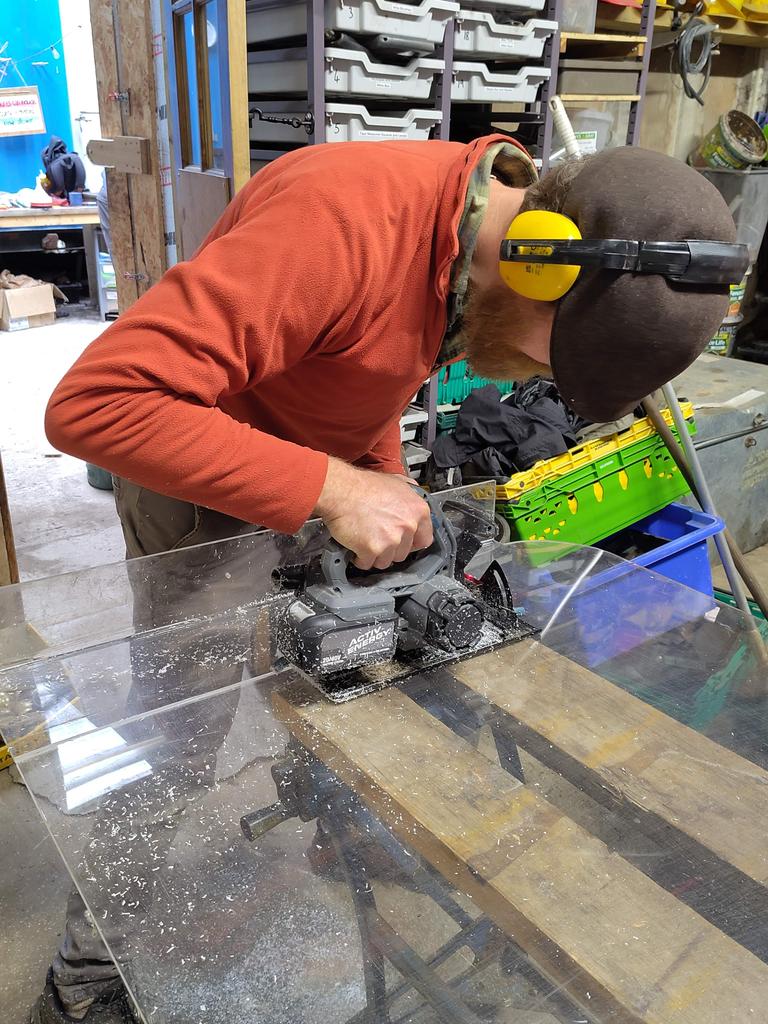
A circular saw for cutting the Perspex can be useful but is not recommended for general use by workshop participants. Ensure the user has received adequate training in its use, reads any safety instructions and uses PPE. A vacuum cleaner is useful for clearing up plastic dust.
Materials list
The Real Seeds plans list the dimensions of timber and other materials required, but here are some possible substitutes:
- Repurposed bed slats are often the same dimension as the required timber.
- The ‘zig zags’ are often the same dimensions as the corner pieces of wooden vegetable crates. Both these and the above are often discarded as ‘waste.’
- Large Perspex picture frames can be bought cheaply from charity shops.
- Old COVID screens are another source of Perspex.
- It can be helpful to make the front of the cleaner removable using hinges and clips for easier cleaning.
Cut list
2 x 600mm lengths for outside edges (one will have triangles attached)
1 x 450mm inside of the zig zag with triangles attached
1 x 560mm inside fall to chaff box (this will need to be angled cut to fit)
1 x 310mm piece across top (with hole for vacuum cleaner attachment)
1 x 110mm top of zig zag passage (requiring a 45 degree cut)
1 x 140mm to form top small triangle (requiring two 45 degree cuts)
1 x 150mm baffle at top of the chaff box (requiring 45 degree-ish cut)
1 x 55mm with hole to take funnel for top of zig zag
1 x 75mm for bottom flap that seals the chaff box
1 piece of 12mm ply cut 600mm x 420mm for back of cleaner
1 piece of 12mm ply 520mm x 290mm for chaff box and air control (not required if the whole of the front is Perspex)
1 piece of 3mm Perspex 240mmx 600m for zig zag window, or 600mm x 420 for the whole of the front
30mm screws
1 x M8 nut and bolt, minimum 30mm long, for air control
Suggested schedule for the workshop
Participants invited for 10am start and 4.30pm finish.
9 – Workshop leader arrives, lays out materials, tools and templates and makes space to work safely
10 – Participant arrivals
10.15-10.30 – Introductions in a circle – name and project/location and, for example, share the name of a seed variety hoped to have cleaned with the zig zag seed cleaner.
10.30-10.45 – Health and safety, and people care briefing, housekeeping, and the plan for the day
10.45-11.45 – Measuring, marking and cutting wood. Everyone should have an opportunity to practice cutting and drilling some wood. (Pallet or scrap wood boards are a good material for test cuts)
11.45 -12.00 – Break
12.00 -1.00 – Drilling, screwing and assembly introduction and demonstration
1.00-1.45 – Lunch break
1.45-3.30 – Assembly
3.45-4.00 – Pack down and tidy up
4.00-4.30 – Break, thoughts and reflections and next steps for participants
Leeds Seed Savers and the Seed Sovereignty Programme would like to express gratitude to Real Seeds for releasing the zig zag cleaner plans as an open-source design. If you use Real Seeds’ plans, please acknowledge this provision.
With gratitude to the Kreitman Foundation for their support of our micropot funding initiative, enabling this work to take place.
Leeds Seed Savers can be contacted via Instagram, @leedsseedsavers.